
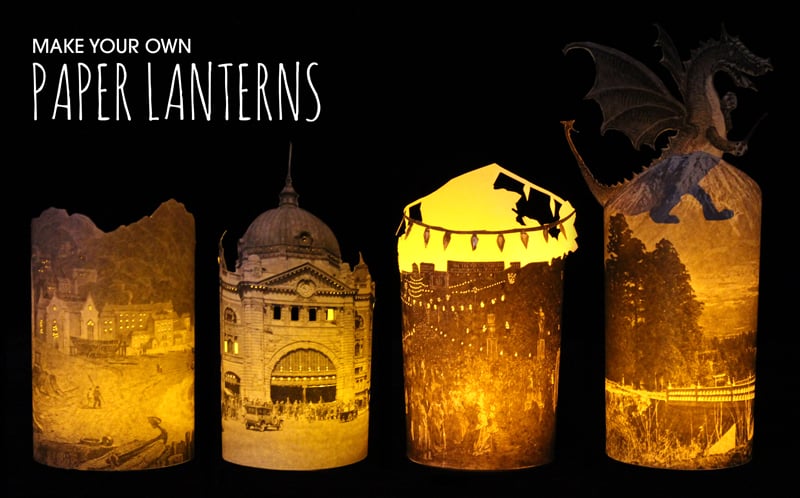
Some pretty lanterns made from images in our collection
We were inspired by this crafty blog post on how to make little paper lanterns from photos, and thought we’d use images from our digital image pool to do the same thing!
You will need:
- a picture from our collection
- a printer with A4 paper
- scissors
- tape or glue
- an LED tealight candle (don’t use real candles as these lanterns are flammable!)
- optional: a needle, a Stanley knife, cellophane
First we need to find an image that will work well as a lantern. I’ve found that landscape-orientated pictures work best, especially ones with a distinct skyline. Try searching for ‘skyline’, ‘mountain’, ‘horizon’ or ‘view’.
Along with photos, there are also good illustrations of scenes from engravings in our collection, and you can find some great images for lanterns by combining the search terms. For example, try searching for ‘engraving river’ or ‘engraving mountain‘.
Other pictures that have a distinct outline for cutting around can also work well. Here is the picture we selected:
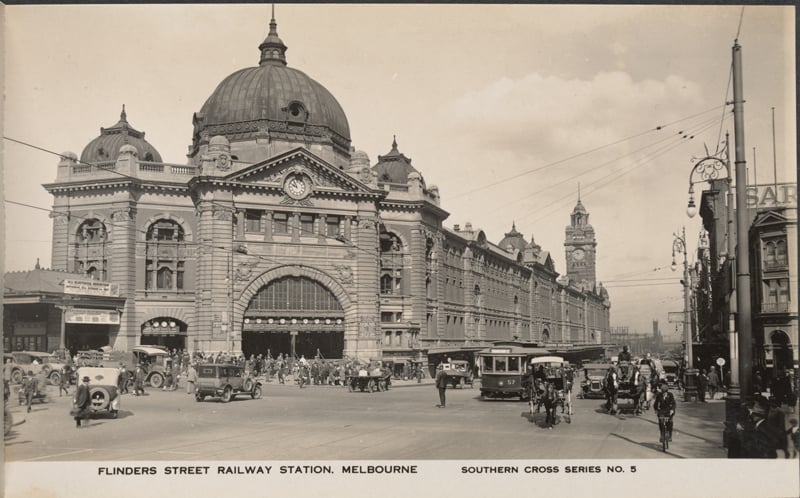
Postcard of Flinders Street Railway Station, Melbourne, ca. 1930 – 1935. Rose Stereograph Co.
Next, print out your image onto A4 paper. Printing the image in landscape format works better because the LED tealight candle will definitely fit inside the completed lantern.
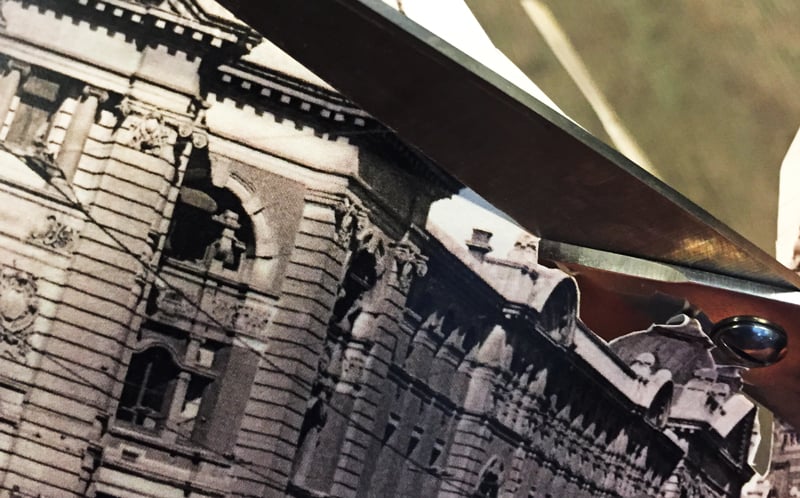
Cut around the outline of the image
Using scissors, cut around the image so that the edges are straight on the bottom and sides. Cut out the parts of the top of the image that you want to remove (such as the sky from a mountain scene), so as to give the lantern an interesting ‘top border’ or shape. Don’t worry too much about cutting out tiny fiddly bits such as thin chimneys, telephone wires or aerials – you probably won’t notice they are missing in the finished piece.
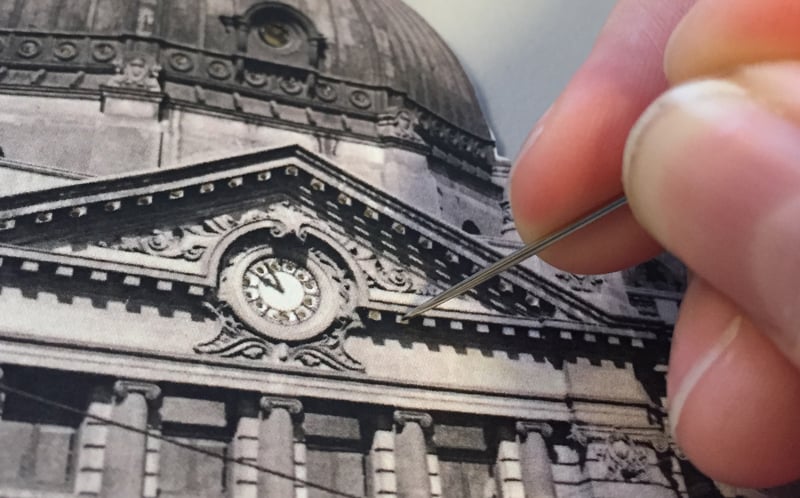
Poke holes in the picture to let light through – useful for elements such as windows or lights.
You can add additional detail to your lantern by using a needle to poke holes into the paper, in places such as windows or lights. You can also use a Stanley knife to carefully cut out larger sections of the image, and leave them empty or replace them with coloured cellophane.

Join the two sides of the paper together forming a cylinder.
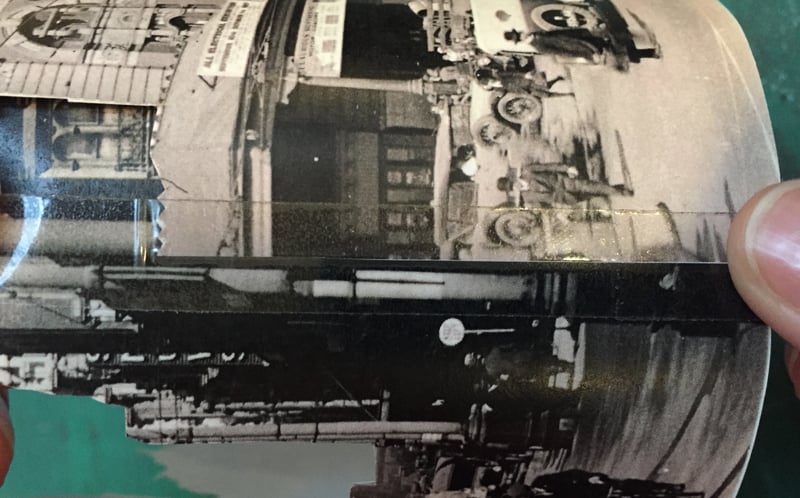
Use tape or glue to join the ends together.
Once you are happy with your lantern, join the two ends together to make a cylinder and fasten it with glue or sticky tape.
Pop an LED tealight candle inside and your lantern is complete! Share your lantern with us by posting a picture of it on Instagram using the hashtag #remixvic and we will show it off on our website!